The allure of custom furniture is undeniable. Pieces perfectly tailored to your space, reflecting your personal style, and built with your own hands carry a unique satisfaction that store-bought items simply can’t match. Diving into the world of woodworking and DIY furniture building is not only a rewarding endeavor but also a practical one, allowing you to create functional art that serves your specific needs. From sturdy storage solutions to elegant work surfaces, the skills you develop are incredibly versatile. This guide will walk you through the fundamental steps and inspiring ideas for two popular projects: building a robust bookshelf and crafting distinctive table tops.
The Foundations of DIY Furniture Building
Before you pick up a saw, it’s essential to understand the core principles of how to build furniture effectively and safely. Planning is paramount. Begin by conceptualizing your project. What dimensions do you need? What style are you aiming for – rustic, modern, minimalist? Sketching out your design, even roughly, helps visualize the final product and identify potential challenges. Consider the environment where the furniture will reside; will it be exposed to moisture, heavy use, or direct sunlight? These factors influence your choice of materials and finishes.
Material selection is another critical step. Wood is a popular choice for its versatility, strength, and aesthetic appeal. Common options include pine, oak, maple, walnut, and plywood or MDF for more economical or painted finishes. Each has different characteristics in terms of hardness, grain, and cost. Understanding these differences will help you make an informed decision for your project. Don’t forget the necessary hardware – screws, nails, hinges, drawer slides, and shelf pins – all contribute to the structural integrity and functionality of your piece.
Equipping yourself with the right tools is also crucial. For most DIY furniture projects, a basic set of hand tools (tape measure, square, hand saw, hammer, screwdrivers) is a good start. As you advance, power tools like a circular saw, miter saw, drill, sander, and router will significantly expand your capabilities and improve efficiency. Always prioritize safety: wear eye protection, hearing protection, and appropriate clothing, and ensure you understand how to operate each tool correctly before use.
Mastering the Art of Building a Bookshelf
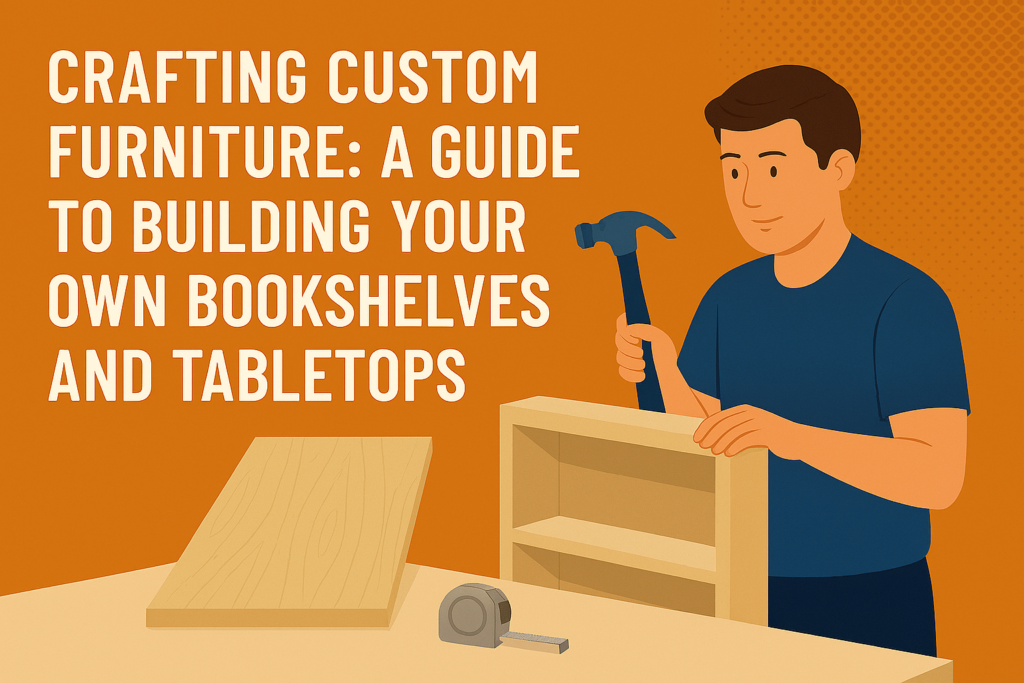
A well-constructed bookshelf is a cornerstone of any home, offering both practical storage and an opportunity to display cherished items. Learning how to build a bookshelf is an excellent way to hone your woodworking skills, as it involves joinery, accurate measurements, and sturdy construction.
Start with your design. Do you need fixed shelves or adjustable ones? What depth and height are necessary to accommodate your book collection? A common depth is 10-12 inches, with shelf heights varying based on book size. For adjustable shelves, consider a system of shelf pins inserted into pre-drilled holes along the sides.
For materials, solid wood (like pine or oak) offers a classic, durable look. Plywood is another excellent choice, especially for larger units, as it’s stable, strong, and less prone to warping than solid wood, and can be easily stained or painted. Cut your side panels, top, bottom, shelves, and a back panel (if desired). Precision in cutting is vital for a professional finish. Use a straight edge guide with your circular saw or a miter saw for clean, square cuts.
Assembly is where your design comes to life. Begin by joining the top and bottom pieces to the side panels. Common joinery methods include pocket screws, dado joints, or simple butt joints reinforced with screws and wood glue. Pocket hole joinery, created with a pocket hole jig, is particularly popular for its strength and concealed fasteners. Once the main box is assembled, install your shelves. For fixed shelves, secure them with screws through the side panels into the shelf ends, using glue for added strength. For adjustable shelves, drill a series of evenly spaced holes using a jig before assembly, then simply place the shelves on pins after the main structure is built.
Consider adding a back panel for extra rigidity and to prevent items from falling through. Plywood or hardboard can be nailed or screwed into place. Finish your bookshelf with sanding, starting with coarse grit and progressing to finer grits for a smooth surface. Then apply your chosen finish – stain, paint, varnish, or oil – to protect the wood and enhance its appearance. Proper finishing not only beautifies the piece but also significantly extends its lifespan.
Exploring DIY Table Top Ideas
Building a table top offers immense creative freedom, allowing you to craft a focal point for any room. The beauty of DIY table top ideas is the ability to customize shape, size, material, and finish to perfectly match an existing base or to inspire a whole new piece of furniture. Whether for a dining table, coffee table, desk, or side table, a custom top can transform a space.
One of the most popular choices is a diy wood table top. Solid wood slabs, often sourced from local sawmills or specialty wood suppliers, offer unparalleled natural beauty with their unique grain patterns and live edges. These can be sanded, planed, and finished to create a stunning, rustic, or modern piece. Alternatively, you can assemble a wood table top from individual boards. This involves carefully selecting boards, jointing their edges (using a jointer or router with a straight bit), gluing them together with strong wood glue and clamps, and then sanding the assembled panel flat. This method allows for greater control over the size and look, and you can experiment with different wood species or patterns, like a butcher block style.
Beyond solid wood, there are numerous other exciting diy table top ideas:
Plywood Tops: For a budget-friendly yet sturdy option, layered plywood can be sealed, sanded, and painted or stained. Edges can be finished with wood veneer tape or solid wood trim for a polished look. You can also create interesting patterns by cutting geometric shapes into the top layer of plywood and revealing a different finish underneath, or by staining different sections.
Reclaimed Wood: Utilizing reclaimed wood from old barns, pallets, or demolition sites adds character and a story to your table. Each plank tells a tale, and the weathered look can be incredibly appealing. Ensure the wood is thoroughly cleaned, free of pests, and structurally sound before use.
Epoxy Resin Tops: For a truly unique and durable surface, consider an epoxy resin top. You can embed objects like bottle caps, pebbles, dried flowers, or even other pieces of wood in clear or colored resin to create a mesmerizing, hard-wearing surface. This method requires careful preparation to prevent leaks and achieve a bubble-free finish.
Tile Inlay: For a practical and decorative kitchen island or patio table, a tile inlay can be a fantastic choice. Choose ceramic, porcelain, or mosaic tiles to create patterns or a durable, heat-resistant surface. This involves creating a recessed area in your wood top to lay the tiles flush.
Concrete Tops: For an industrial or modern aesthetic, a DIY concrete table top offers incredible durability and a sleek, minimalist look. This involves building a mold, mixing and pouring concrete, and then curing and sealing the finished slab. While more labor-intensive, the result is a striking and long-lasting surface.
When attaching your table top to a base, ensure you use appropriate fasteners that allow for wood movement (if using solid wood) to prevent warping or cracking. Z-clips, tabletop fasteners, or elongated screw holes are common solutions. Finish your table top with a durable sealant – polyurethane, lacquer, or an epoxy flood coat – to protect it from spills, scratches, and daily wear and tear.
The Rewarding Journey of Crafting Your Own Pieces
Embarking on the journey of building your own furniture, from a simple bookshelf to an elaborate custom table, is incredibly fulfilling. It’s a process that hones your practical skills, sparks creativity, and leaves you with tangible, meaningful objects that enhance your home. The confidence gained from successfully completing a project is invaluable. So, gather your tools, unleash your creativity, and start building the custom furniture of your dreams. The only limit is your imagination and a willingness to learn.