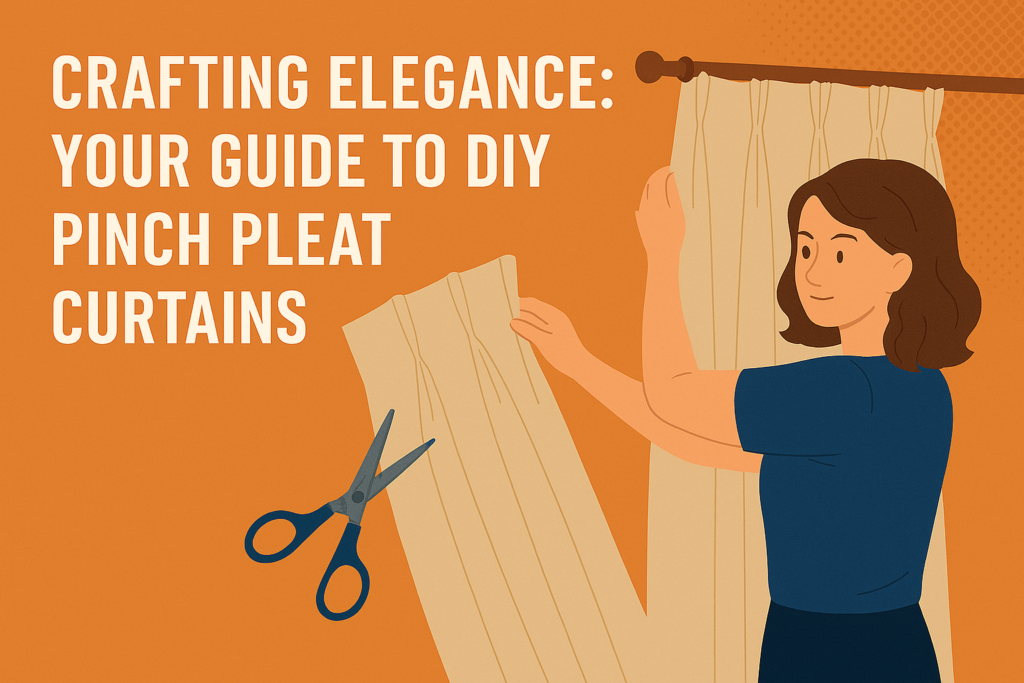
Transforming a room often starts with the windows. They are the eyes of your home, and how you dress them can dramatically influence the ambiance, light, and privacy of your living space. Among the myriad curtain styles, pinch pleats stand out for their timeless elegance, tailored appearance, and sophisticated drape. While custom-made pinch pleat curtains can be a significant investment, the satisfaction and savings of creating them yourself are immense. Embarking on a journey to make your own window treatments allows for unparalleled customization, from fabric choice to exact dimensions, ensuring a perfect fit and a unique expression of your personal style.
Why DIY Pinch Pleat Curtains?
The decision to tackle a home décor project yourself, especially one as seemingly intricate as custom curtains, comes with a host of advantages. Firstly, cost savings are often a primary motivator. Professional curtain makers charge not only for materials but also for their expertise and labor. By doing it yourself, you primarily pay for the fabric and notions, which can drastically reduce the overall expense. Secondly, a DIY approach means absolute control over the aesthetic. You can scour fabric stores for that perfect pattern, texture, or color that complements your existing décor, rather than being limited to pre-made options. This level of customization is invaluable when striving for a cohesive and personalized interior design. Thirdly, there’s an undeniable sense of accomplishment in stepping back and admiring something beautiful and functional you’ve created with your own hands. This project, while requiring patience and attention to detail, is incredibly rewarding. For anyone contemplating a way to infuse their home with bespoke charm and luxury, learning how to make pleated curtains is a truly worthwhile endeavor.
Understanding the Anatomy of a Pinch Pleat
Before diving into the construction, it’s helpful to understand what makes pinch pleats unique. A pinch pleat is formed by gathering a section of fabric into a series of folds and then “pinching” them together, typically 2 or 3 inches from the top, and stitching them securely. This creates a decorative, fanned-out look at the top of the curtain that then flows into elegant, uniform folds down the length of the fabric. This structure gives curtains a very architectural, formal appearance and ensures they hang beautifully with consistent fullness. The key to successful pinch pleats lies in precise measurement and consistent pleat spacing, which we’ll cover in detail.
Gathering Your Essential Materials
Preparation is paramount for any successful sewing project. Before you even think about cutting fabric, ensure you have all the necessary tools and materials readily available. This will streamline your workflow and prevent frustrating interruptions.
Fabric & Notions:
* Face Fabric: Choose a drapery-weight fabric that drapes well. Consider its pattern repeat if applicable.
* Lining Fabric: Opt for a high-quality lining fabric (e.g., blackout, thermal, or standard sateen) that complements your face fabric’s weight and provides the desired functionality.
* Pinch Pleat Heading Tape (or Buckram): Pinch pleat tape has internal cords that allow you to easily gather and form pleats. Buckram is a stiff interfacing used for traditional, hand-formed pleats.
* Matching Thread: High-quality polyester thread that blends seamlessly with your face fabric.
* Weights (optional): Small drapery weights can be inserted into the bottom corners to help the curtains hang straighter.
Tools:
* Sewing Machine: A reliable machine capable of handling drapery fabric thickness.
* Measuring Tape & Yardstick/Ruler: For accurate length and width measurements.
* Fabric Scissors or Rotary Cutter & Mat: Sharp tools are essential for clean cuts.
* Iron & Ironing Board: For pressing seams and hems for a crisp finish.
* Pins or Fabric Clips: To hold fabric layers in place.
* Fabric Marker/Chalk: For marking cutting lines and pleat positions.
* Seam Ripper: Inevitable for corrections, so keep it handy!
* Pleat Hooks: The specific type needed will depend on your curtain rod or track system.
Accurate Measurements: The Foundation of Success
Precision in measurement is the most critical step to ensure your custom pinch pleat curtains fit perfectly and look professionally made. Skimping on this step will lead to disappointing results.
1. Determine Finished Width:
* Measure the width of your curtain rod or track.
* To achieve proper fullness for pinch pleats, multiply this measurement by a fullness factor, typically 2x to 2.5x. For example, if your rod is 60 inches wide, you’ll need 120 to 150 inches of fabric for each curtain panel (if making a pair) or for a single panel.
* Add seam allowances for each side hem (e.g., 2 inches per side, totaling 4 inches per panel for a 1-inch double-fold hem).
* Add extra for pattern repeat if your fabric has one, ensuring patterns align across panels.
2. Determine Finished Length:
* Decide where you want your curtains to end:
* Sill Length: Just touching the windowsill.
* Apron Length: About 4-6 inches below the windowsill.
* Floor Length: 1/2 inch to 1 inch above the floor.
* Puddle Length: An extra 2-10 inches to pool elegantly on the floor.
* Measure from the top of your curtain rod or track to your desired finished length.
* Add an allowance for the top heading (e.g., 4-6 inches, depending on the height of your pleats and heading tape).
* Add an allowance for the bottom hem (e.g., 8-10 inches for a generous double-fold hem).
3. Calculate Fabric Yardage:
* Based on your calculated width and length for both face fabric and lining, determine how many full fabric widths you’ll need for each panel. Divide the total cut width by the fabric width (usually 54 or 60 inches). Round up to the next whole number.
* Multiply the number of widths by the cut length of each panel. Convert this to yards. Remember to account for any pattern matching when calculating fabric for multiple widths, adding an extra repeat length per join.
Preparing Your Fabric
Once you have your measurements and materials, it’s time to prepare your fabric:
- Pre-Shrink: If your fabric is washable, pre-wash and dry it according to the manufacturer’s instructions. This prevents shrinkage after your curtains are made.
- Iron: Thoroughly iron both your face fabric and lining fabric to remove all wrinkles and creases. This makes cutting and sewing much more accurate.
- Cut: Carefully cut your face fabric panels and lining fabric panels to the calculated dimensions. Use a large cutting mat and rotary cutter or sharp fabric scissors to ensure perfectly straight edges. If joining multiple widths, sew them together now, pressing seams open.
How to Make Lined Curtains: The Essential Step
Lining is crucial for professional-looking, durable curtains. It protects the face fabric from sun damage, provides insulation, blocks light, and adds body, ensuring a luxurious drape.
- Lay Out Fabrics: Place your face fabric panel(s) right side up on a large, clean surface. Lay the lining fabric panel(s) on top, wrong side up, aligning all edges.
- Sew Side Seams: Pin the long side edges of the face fabric and lining together. Sew them using a 1-inch seam allowance. Trim the seam allowance if necessary and press seams open.
- Turn and Press: Turn the combined fabric tube right side out so the face fabric is on the outside. Press the side seams so that the lining fabric is slightly narrower than the face fabric, creating a “return” of face fabric (about 1/2 inch) on the back. This ensures the lining doesn’t peek out from the sides when the curtain is hanging.
- Square Up Top and Bottom: Lay the panel flat and carefully square up the top and bottom edges, trimming any excess to ensure they are perfectly straight.
Creating the Heading: How to Make Pinch Pleat Curtains
This is where the magic happens, transforming simple fabric into elegant pinch pleats.
Option 1: Using Pinch Pleat Tape
Pinch pleat tape is a convenient method for creating uniform pleats.
- Attach Tape: Lay your curtain panel face down. Position the pinch pleat tape along the top edge of the lining side, aligning the top edge of the tape with the top raw edge of the curtain. Ensure the cords of the tape are free.
- Sew Tape: Stitch the tape securely in place along its top and bottom edges. Many tapes also require stitching down the middle for extra stability. Backstitch at the beginning and end.
- Fold Top Hem: Fold the raw top edge of the curtain down over the tape. This creates your heading depth. Pin and press. Stitch this folded edge down, enclosing the top of the tape.
- Form Pleats: Once the curtain is sewn, pull the cords embedded in the tape to gather the fabric and form the pleats. Evenly distribute the pleats along the width of the curtain. Secure the cords by knotting them or using the provided cord tidies.
- Pinch the Pleats (Optional): For a more defined “pinch,” you can hand-stitch a few stitches at the base of each formed pleat to hold the gathered fabric more tightly together.
Option 2: Hand-Sewn Pleats with Buckram
For a truly traditional and crisper finish, hand-sewn pleats using buckram are preferred.
- Insert Buckram: With the curtain panel face down, position a strip of buckram (typically 4 inches wide) along the top raw edge of the lining side. The top edge of the buckram should align with the top raw edge of the curtain. Stitch the buckram securely to the curtain top along its top and bottom edges.
- Fold Top Hem: Fold the top raw edge of the curtain (with buckram) towards the back (lining side) to create the desired heading depth (e.g., 4 inches). Press firmly. Stitch this folded edge down along the bottom edge of the buckram.
- Mark Pleat Positions: This is critical.
- Determine the finished width of your curtain when pleated.
- Decide on your desired pleat width and the space between pleats. Standard pinch pleats use 3-5 inches of fabric per pleat, with 3-4 inches between pleats.
- Calculate the number of pleats: (Finished Width – Side Returns) / (Pleat Width + Space Between Pleats). Round to the nearest even number.
- Divide the total fabric width (before pleating) by the number of pleats to find the amount of fabric allocated per pleat.
- Carefully mark the exact center of each pleat and the center of each space between pleats along the buckram.
- Forming the Pleats:
- For each marked pleat, bring the outer marks together to the center mark, creating a fold. Pin firmly.
- Stitch vertically from the top of the heading down about 3-4 inches, through all layers, to secure the pleat. Repeat for all pleats.
- Pinching the Pleats:
- At the base of each stitched pleat, divide the fabric into 2 or 3 equal folds (for two-finger or three-finger pleats).
- Gather these folds and hand-stitch securely at the base of the heading. This creates the characteristic “pinch.”
Finishing the Hems
With the heading complete, attention turns to the bottom hem for a clean, polished finish.
- Bottom Hem: Turn up the bottom raw edge of your curtain panel towards the back by 4 inches and press firmly. Turn it up another 4 inches and press again. This creates a double-fold 4-inch hem, providing weight and a luxurious finish. You can miter the corners if desired for a very neat look. Stitch this hem in place using a blind hem stitch on your machine or by hand for an invisible finish.
- Side Hems (if not enclosed): If your lining doesn’t fully enclose the side seams, turn under the remaining raw side edges by 1 inch twice and stitch for a neat finish.
Adding Hooks and Hanging
The final touches bring your creation to life.
- Insert Pleat Hooks: Insert the chosen pleat hooks into the heading. If using tape, they’ll go into the pockets. If hand-sewn, they’ll be inserted into the back of each pleat, typically at the point where the pleat was stitched. Ensure consistent hook placement for an even hang.
- Hang Curtains: Carefully hang your newly made pinch pleat curtains on your rod or track system.
- Final Adjustments: Take a step back. Make any minor adjustments to pleat spacing, ensure the hem is even, and admire your handiwork.
Care and Maintenance
To keep your custom curtains looking their best, gentle care is recommended. Always refer to your fabric’s care instructions. Generally, dry cleaning is preferred for drapery fabrics to prevent shrinkage or damage to the pleats. Regular dusting or light vacuuming with an upholstery attachment can help maintain their fresh appearance.
Creating your own pinch pleat curtains is a truly rewarding DIY project. It’s a journey that combines careful planning, precise execution, and a touch of creativity. The result is not just a window treatment, but a custom piece of art that elevates your living space with enduring elegance and a personal touch that only handmade items can provide.